You are currently browsing the archives for September 2011.
Displaying 1 - 2 of 2 entries.

Pointy Knit Caps

  • Posted on September 26, 2011 at 6:08 am
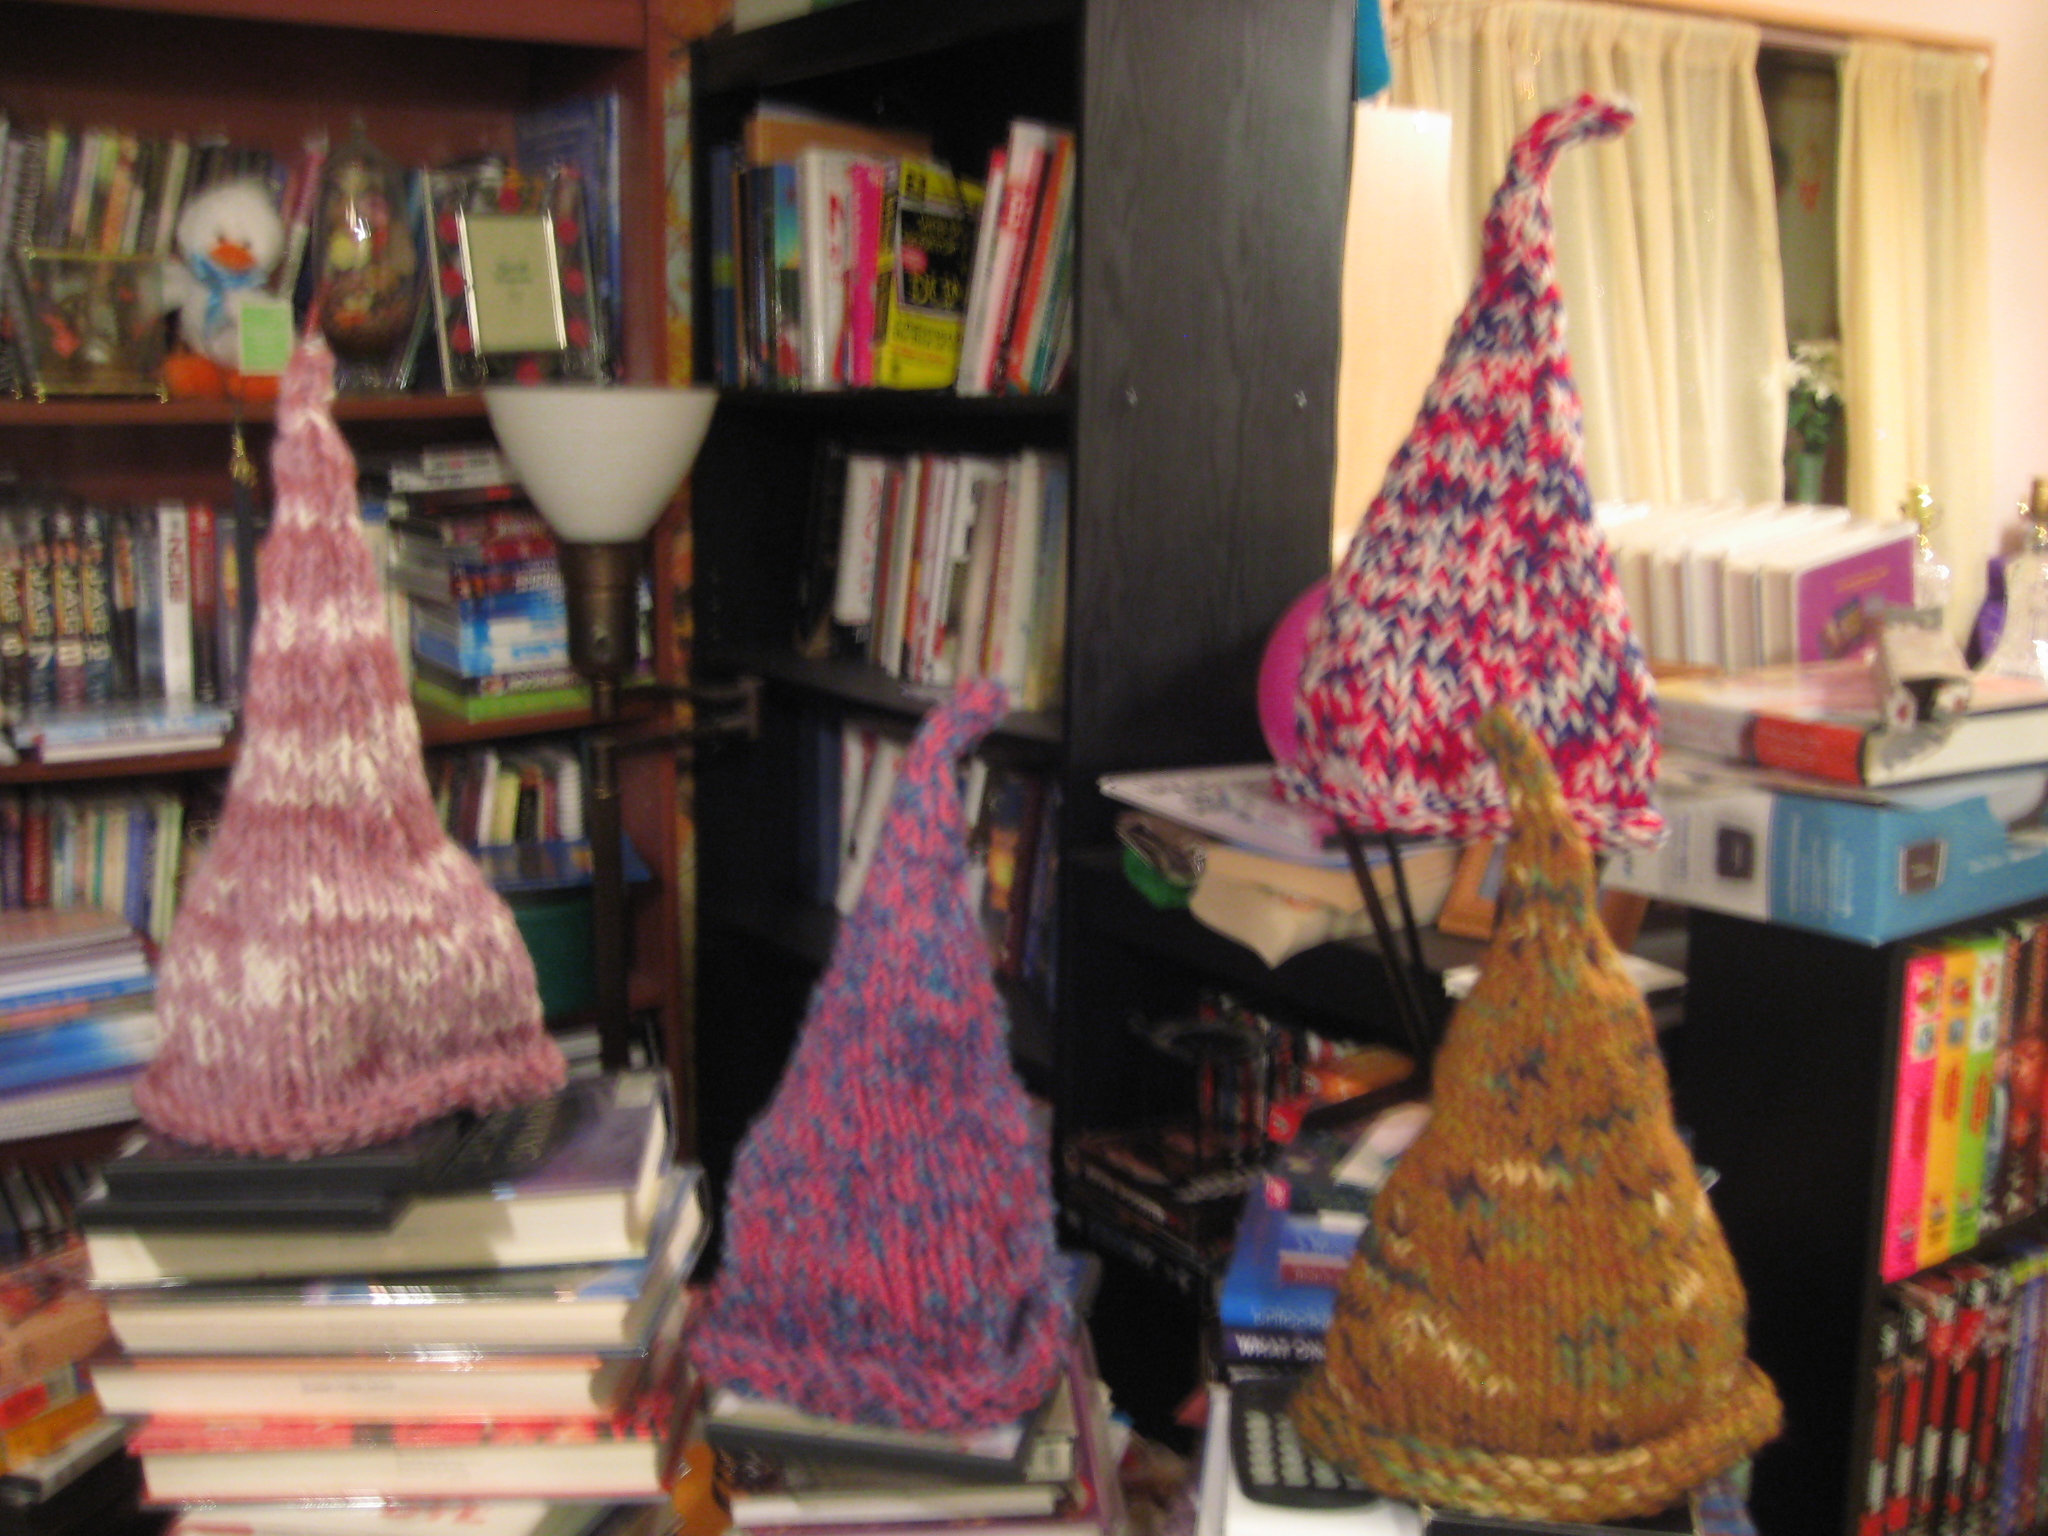
"4 Pointy Knit Caps"

4 Poiny Knit Caps

Last week I came across a pattern that had my hands itching to grab some yarn and find my needles.  Because of work I didn’t get to do that until Saturday and by the time the day was done I had finished 4 hats. While I followed the pattern as written for the first hat, half way through the second one I was already figuring how to do things differently and by the time I started the third hat I had rewritten the pattern to my preferences in my head.

I found the original as a free pattern at www.littlehomeblessings.com and this particular is called “The Scrappy Gnome Hat Pattern”

I made my first had up in under 2 hours. Each of the rest took less than that once I had what I preferred all in one place. I haven’t written up my version yet, but at some point I will have a pattern section to my blog. For now I will just show what I got done on Saturday with more to follow.


"My First Pointy Cap"

Red, White, and Blue My First Poiny Cap

The original pattern called for using 1 strand of bulky weight yarn along with 1 strand of worsted weight yarn, but when I first started I wasn’t finding my bulky yarn stash so I improvised using 3 strands of worsted. It works for gauge, but be aware when you do that it creates a fabric that is stiffer than using just the 2 strands called for  due to the extra twisting that occurs as you work the yarn.

"My Second Pointy Cap"

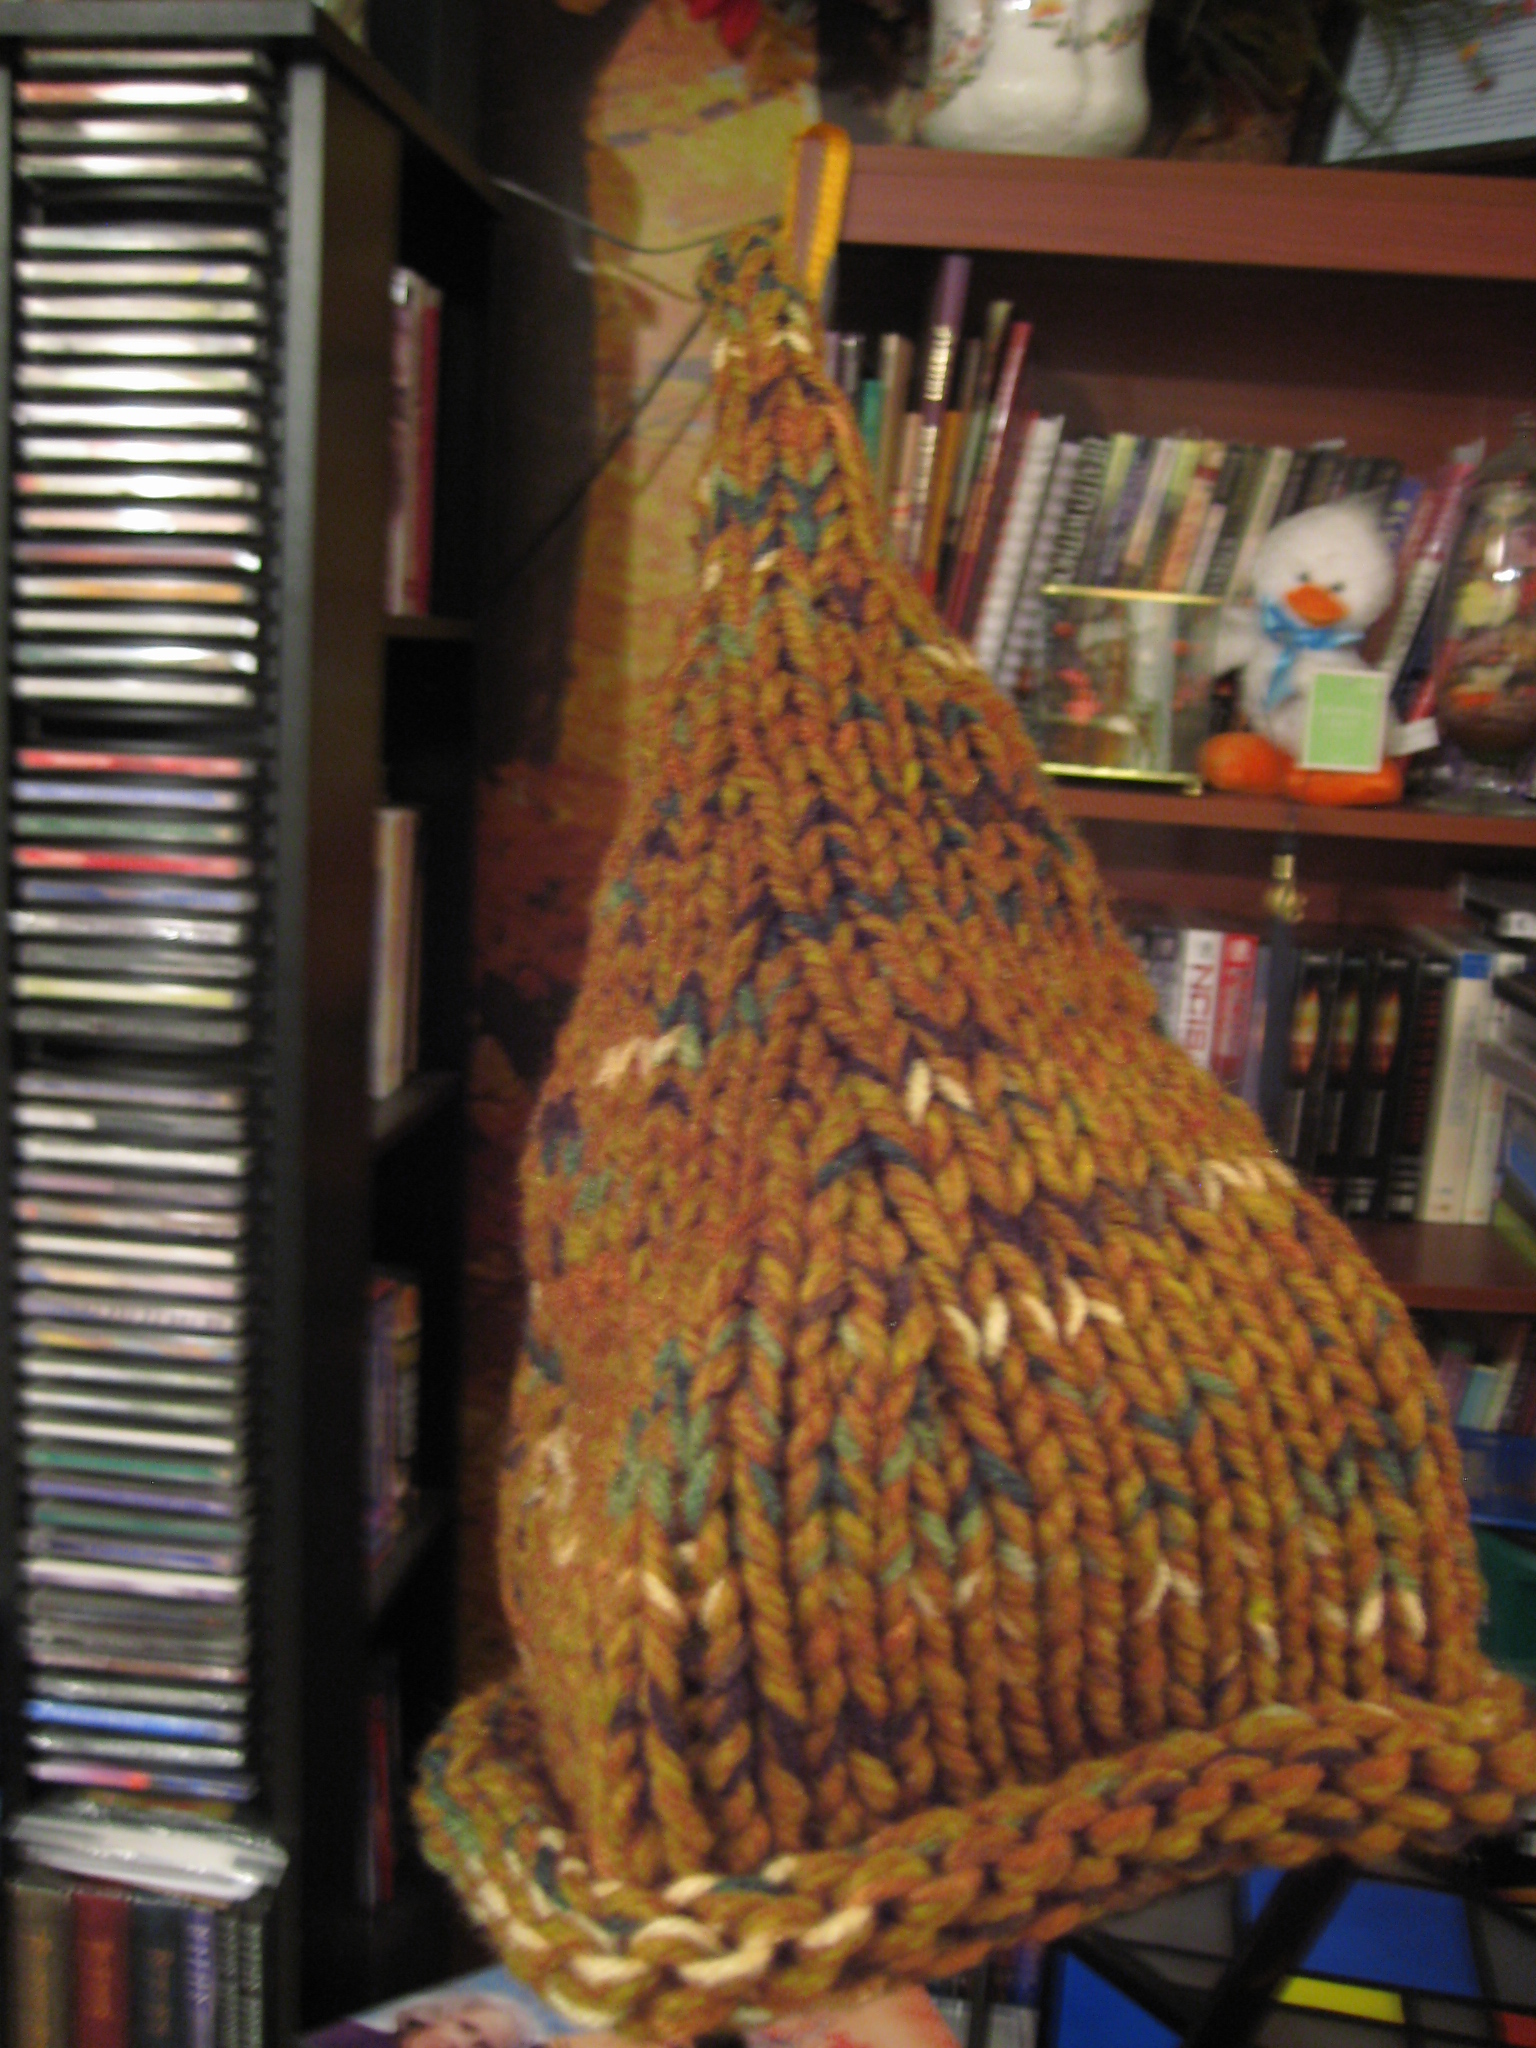
My Second Pointy Cap Using a Varigated Yarn

When I knit the second cap I found some of my bulky yarn stash and paired it with a variegated worsted weight yarn so I didn’t have to change yarns to get color variations and create interest. (I consider myself to be a somewhat lazy knitter, preferring the yarn and technique do the work so I don’t have to.) By this point I had found my 16 inch circular size 13 needles to do the first portion of knitting.

"My Third Pointy Cap this one in Boucle"

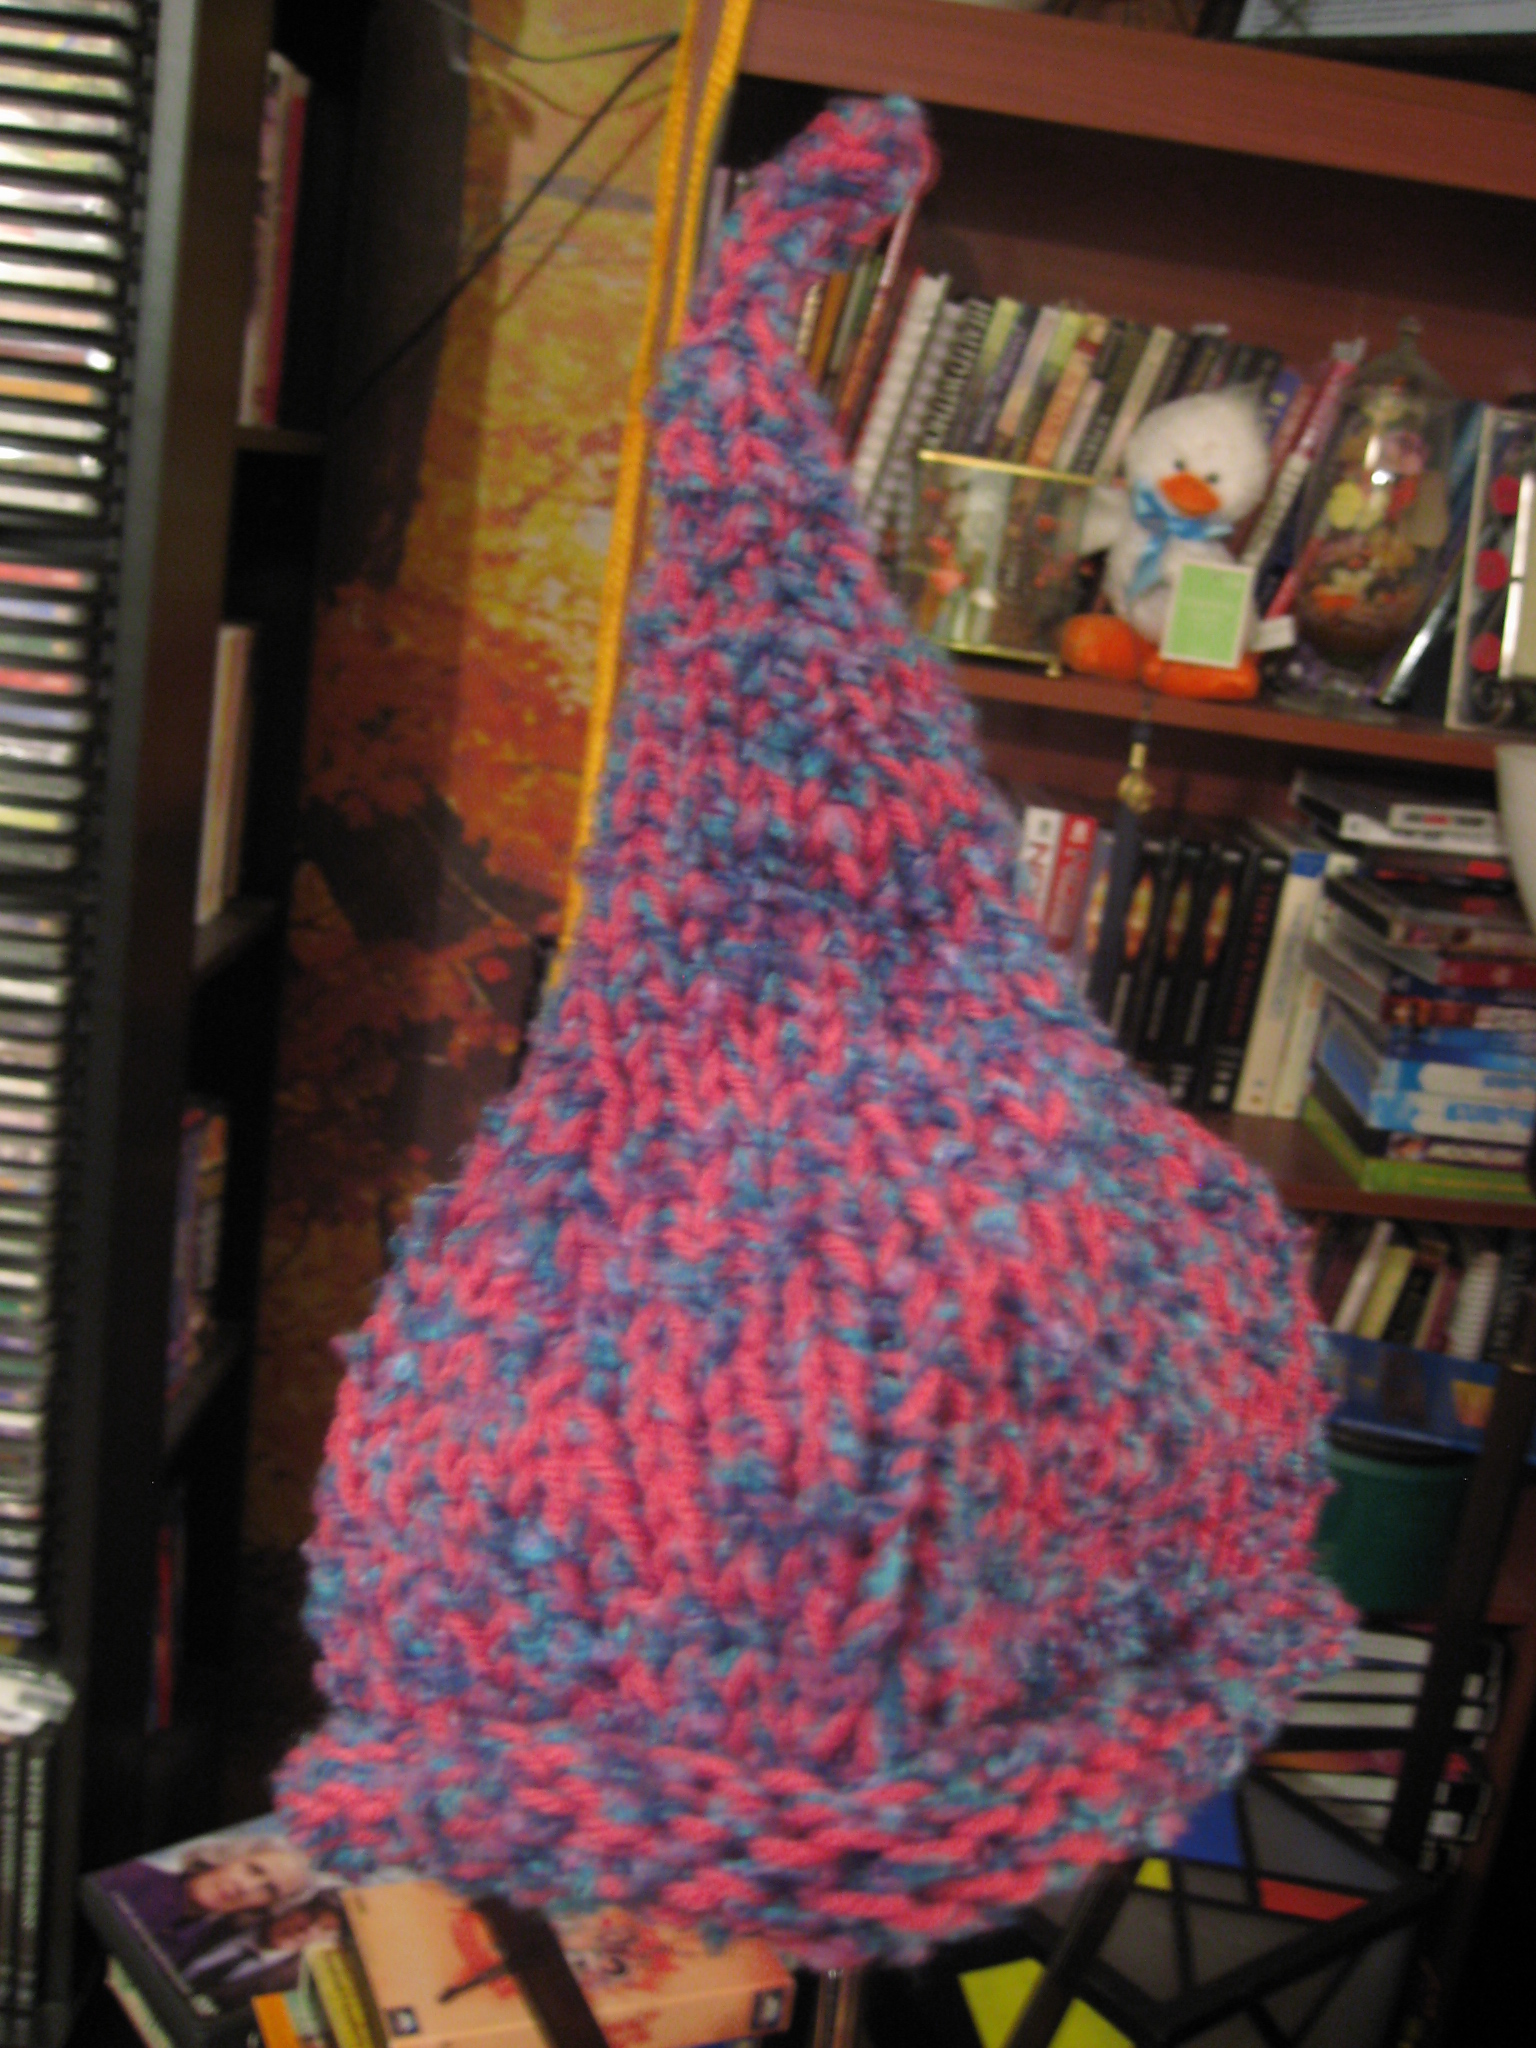
My Third Pointy Cap in Pink and Purple Boucle

By my third attempt I had changed some things around in the working of the pattern as well as found some boucle left over from another project. I paired it up with some raspberry worsted as set off around and around. For some reason I find going around in circles addicting. (I have a simple rolled brim cap I’ve been doing for years just because I can do most of it on circular needles and I do not have to think or pay attention until I start to decrease. It’s one of my default patterns and you’ll probably be introduced to it at a later date).

"My Fourth Pointy Cap is Pink Striped"

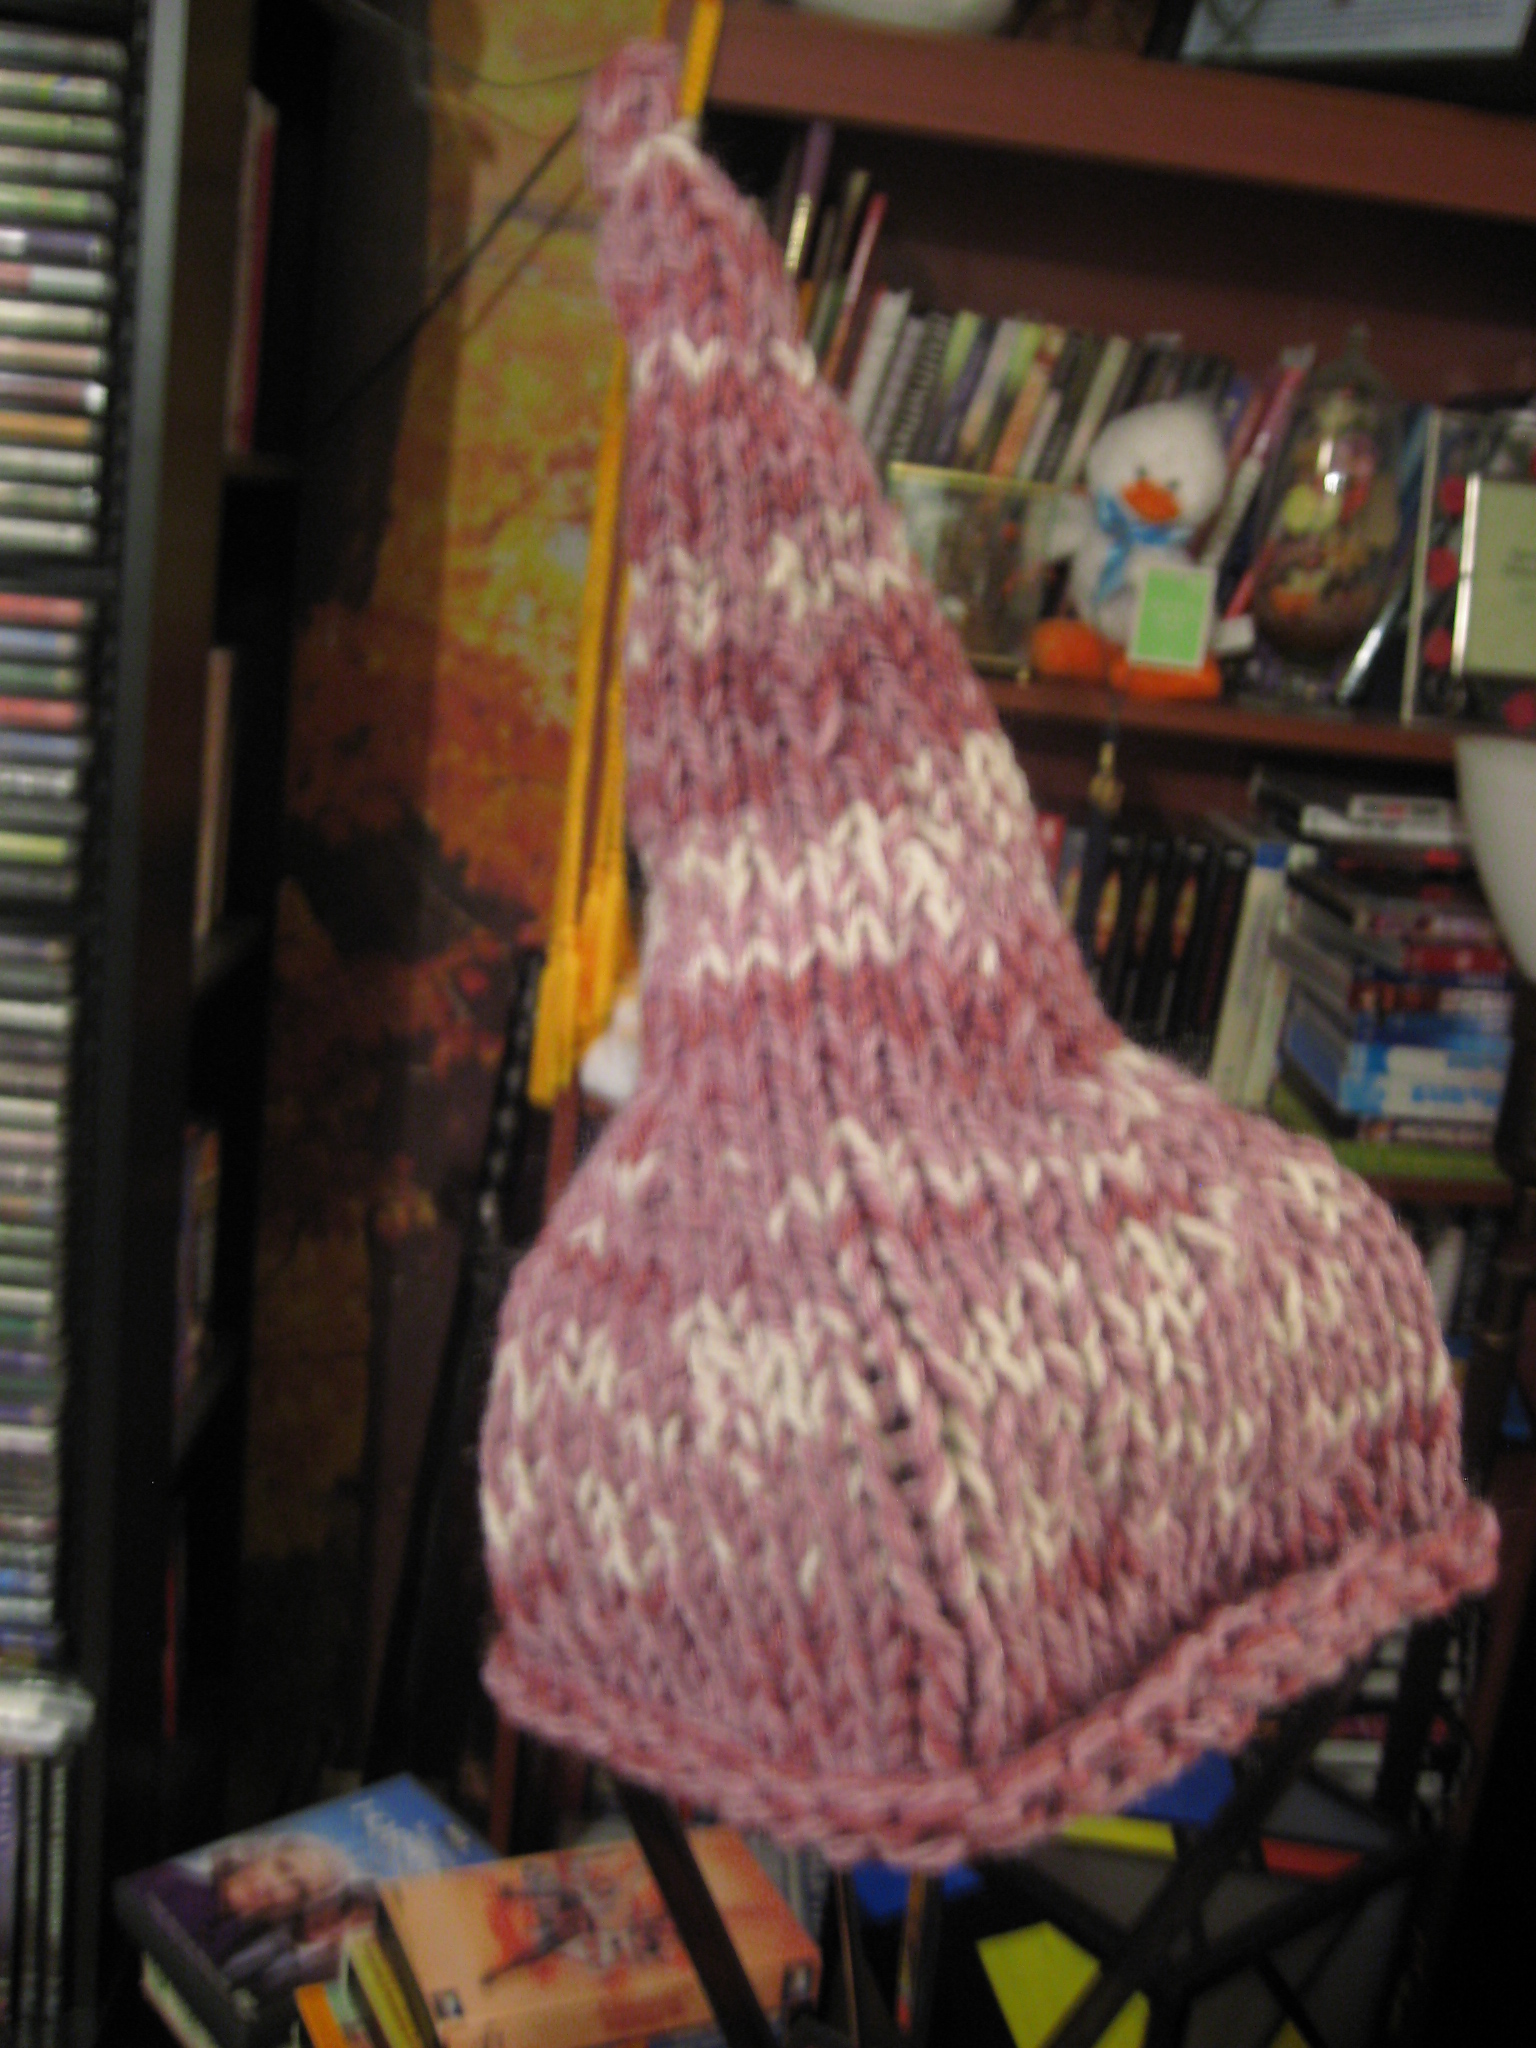
My Fourth Pointy Cap is Pink Striped

My last cap of the evening was done using a heathered pink bulky weight yarn and then alternating a deep rose worsted with an off white worsted. I knew that I wouldn’t have enough of the rose to do the whole thing, so I alternated between them, carrying the unused yarn up as I worked so I could minimize the finishing work.

So there you have it. Instead of cleaning house, I spent Saturday playing with yarn and knitting hats. In looking at these pictures I think that next time I should probably do a some practicing in picture taking, but I just wanted to share these before they got given away or lost in the shuffle.
 

My First Homemade Gluten Free Cookies

  • Posted on September 26, 2011 at 5:23 am
"Gluten free Cashew Butter Cookies"

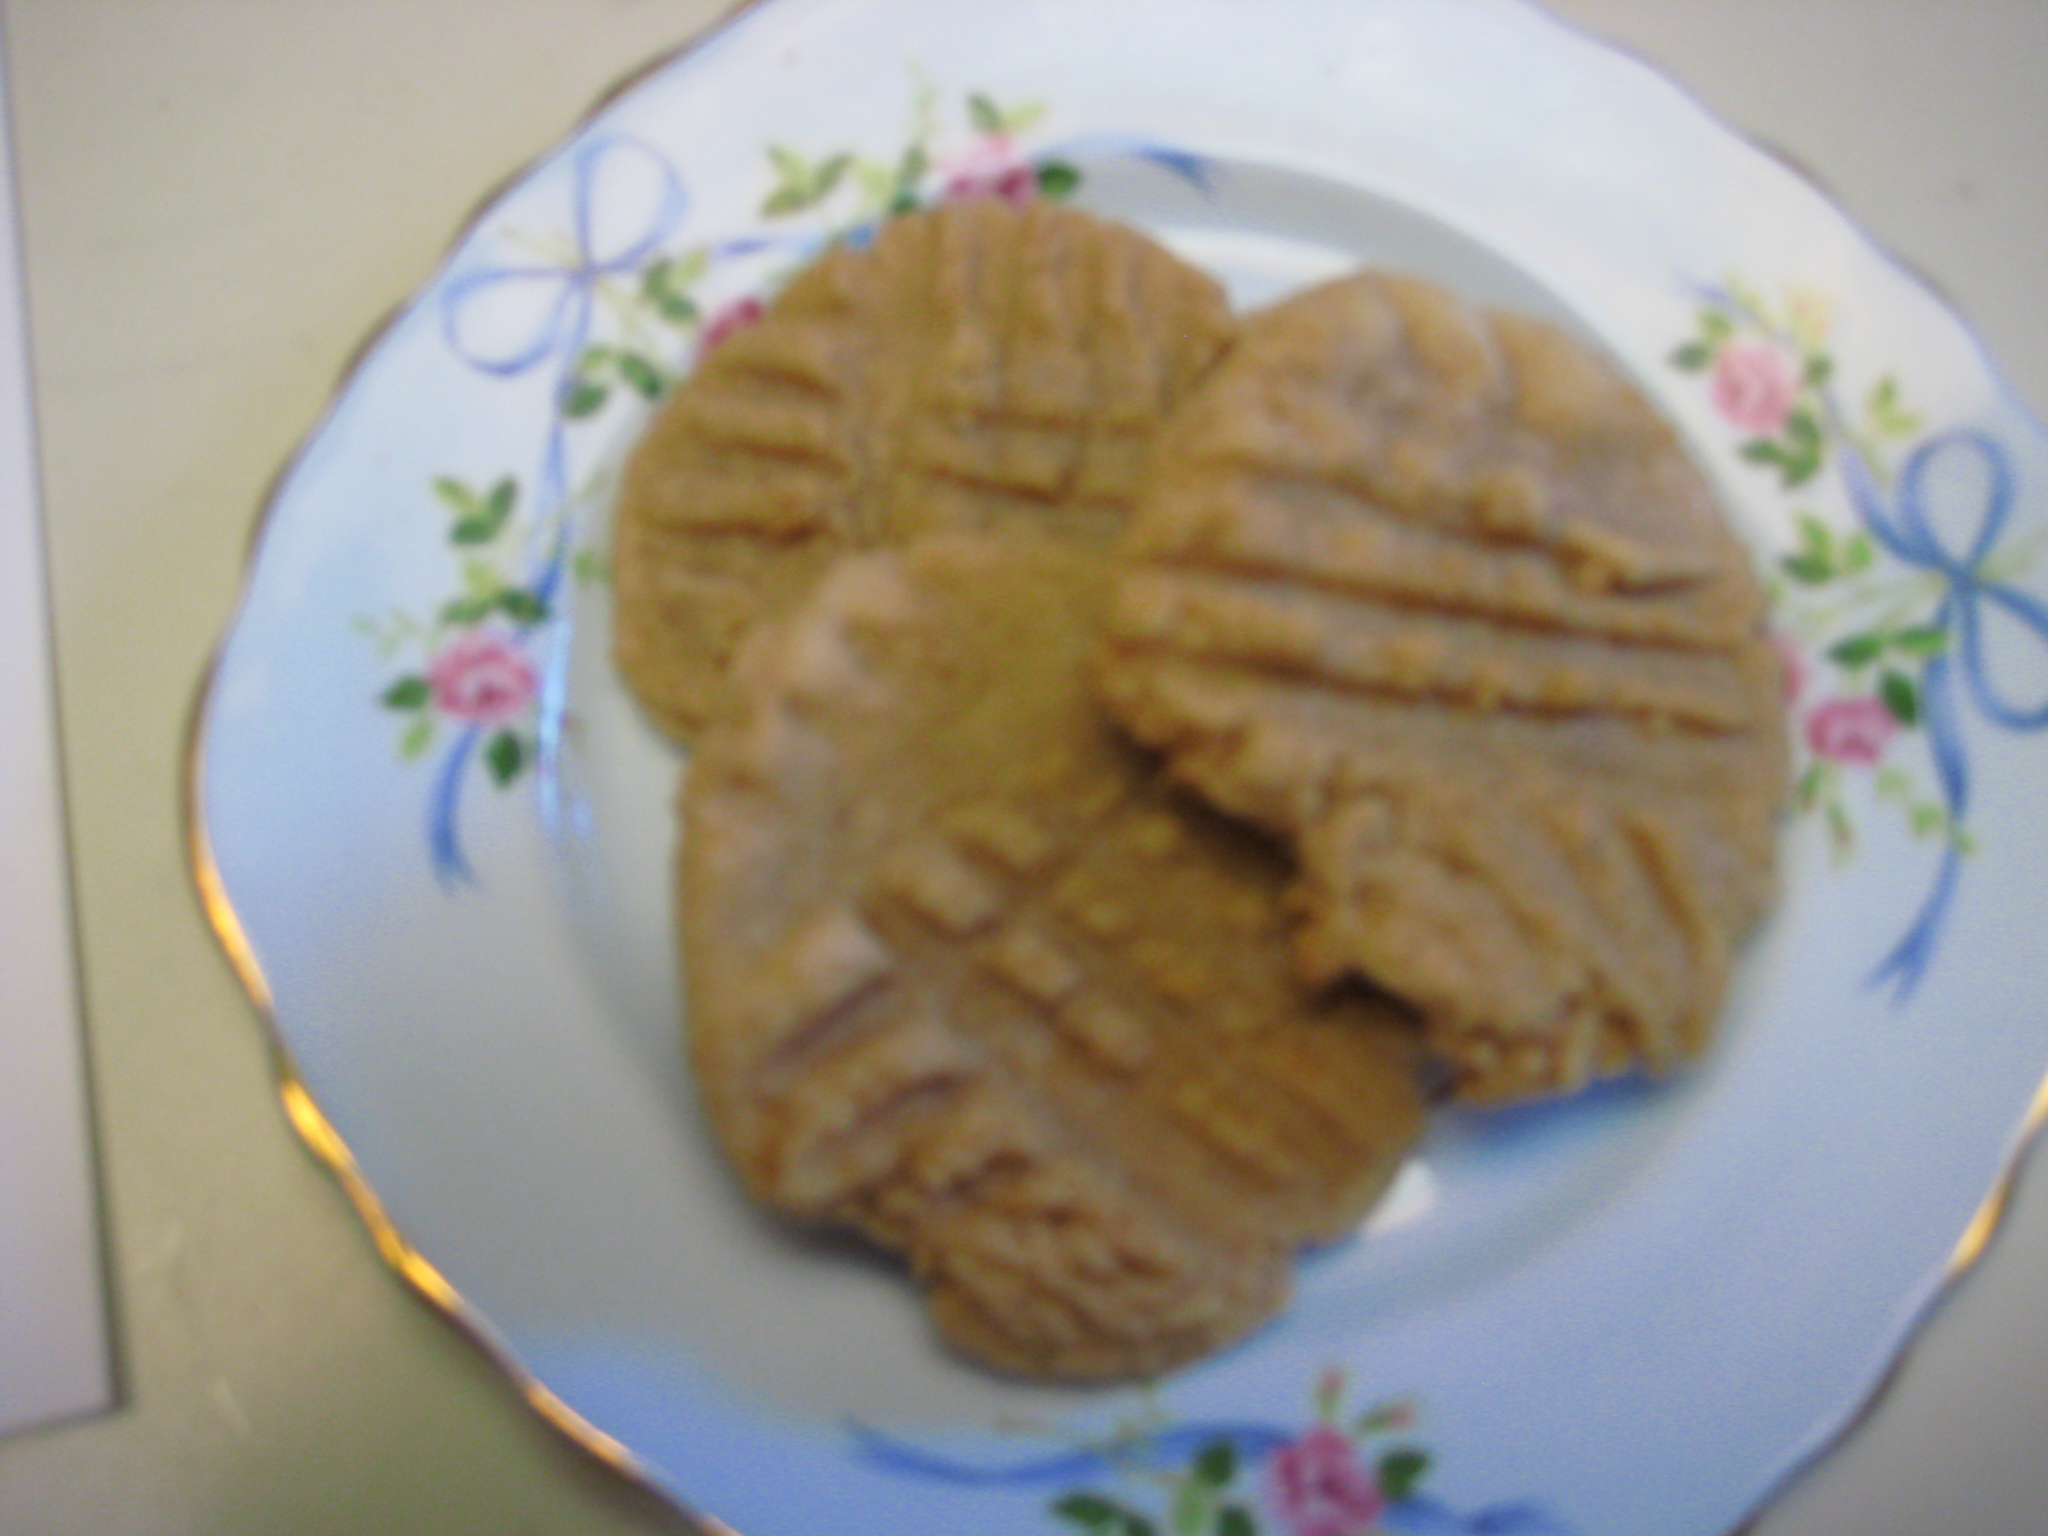
Gluten Free Cashew Butter Cookies

Being able to have an occasional sweet treat is something I have always looked forward to, but since I started to pursue a gluten-free lifestyle it has been more difficult. No longer can I just wander down the Cookies/Crackers lane of the grocery store and just pick up whatever my taste buds are hungry for. And I better not even think of heading over to the Bakery department with its fresh baked rolls, specialty breads, and pastries. I checked out the “specialty” department of the store and found a few kinds of pre-made gluten-free cookies, but at $3.99 for a small bag they aren’t for everyday. I tried the Gingerbread cookies but can’t say I was overly impressed.

So l went online and started looking around at gluten-free recipes, saving the ones that interested me, and compiling a list of the various flours that must be mixed balanced for the recipes to work as a precursor to a shopping trip in Duluth at at the Whole Foods Co-op. I also looked online at various gluten-free cookbooks, at their ratings and recommendations. But even knowing the ratings makes me reluctant when buying a cookbook. Does it really have the recipes I and my family will eat?

I headed off to Duluth and did my shopping, first picking up most of the flours I had on my list. I came home with 7 types of flours or the grain to be turned into flour to try. I also picked up Xanthan and Guar gum, some of the more expensive parts needed for baking.  Stopping at Barnes & Noble I checked out the gluten-free cookbooks and came home with “The Gluten-Free Bible” by Publications International Ltd. It gives an overview of setting up your gluten-free kitchen – two different flour blends, one for recipes involving yeast, the other  for regular baking – and over 200 pages of recipes with pictures.

So now it’s time to make my first batch of gluten-free cookies. The recipe I tried was on page 244, for flourless peanut butter cookies, although I didn’t use the recipe as written. Dealing with thyroid issues I need to avoid peanuts and peanut butter. The other recipe on the page was for flourless almond cookies. With only 3 ingredients – sugar, nut butter, and egg – it doesn’t require alot of time or effort. The most expensive part is the nut butter. I had a jar of cashew butter that needed using so I modified the recipe. Baking in only 10 minutes and giving them a few minutes to cool, I had fresh cookies  start to finish in under 30 minutes from when I started heating the oven and pulling out the ingredients until tasting the first of my labors.

So here is the recipe with my modifications:

Flourless Cashew Cookies

1 cup white sugar

1 cup cashew butter

1 slightly beaten egg

Preheat the oven to 350 degrees. Mix together the ingredients until well blended. Form into 1 inch ball, place onto an ungreased cookie sheet, flatten with a fork. Bake for 10 minutes (or so until it is set). Allow to cool for a few minutes then remove and store. The original recipe said it made 24 cookies, I got 26 when I made these.  You could also add 1/3 cup of chopped cashews to the mix if you’d like.